


Introduction
Once you have created your Cloud Playout channel, there are three steps you need to perform in order to make it part of your CorpTV app. These are detailed in the sections that follow.
Get information for the CorpTV Channel
Before you proceed you will want to capture information that you will need in setting up your CorpTV channel and playlist.
- Go to the channel details page by clicking on the channel in the channel list.
- If you have not already done so, click to activate the channel. See Using Channel Actions for more details.
- After the channel has activated, use the main navigation to go to the Media module.
-
At the top of the video list, you should see a new live video that was created for your Cloud Playout channel:
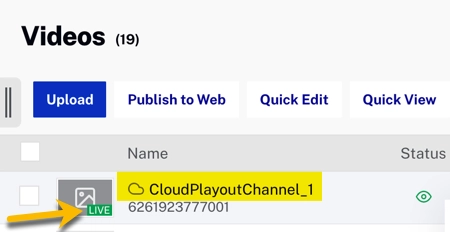
Video List Note that it will be a Live video with no associated image.
- Click on the video name to open the details.
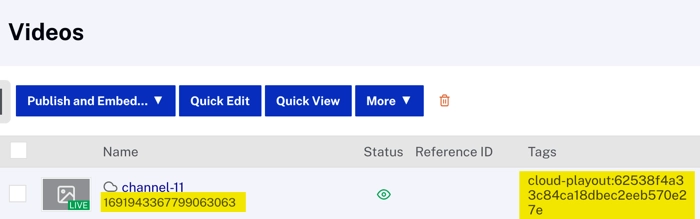
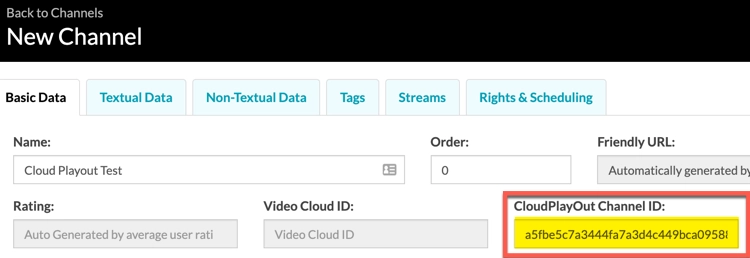
- Save both the video ID and the channel ID (the long alphanumeric string that follows cloud-playout: in the Tags).
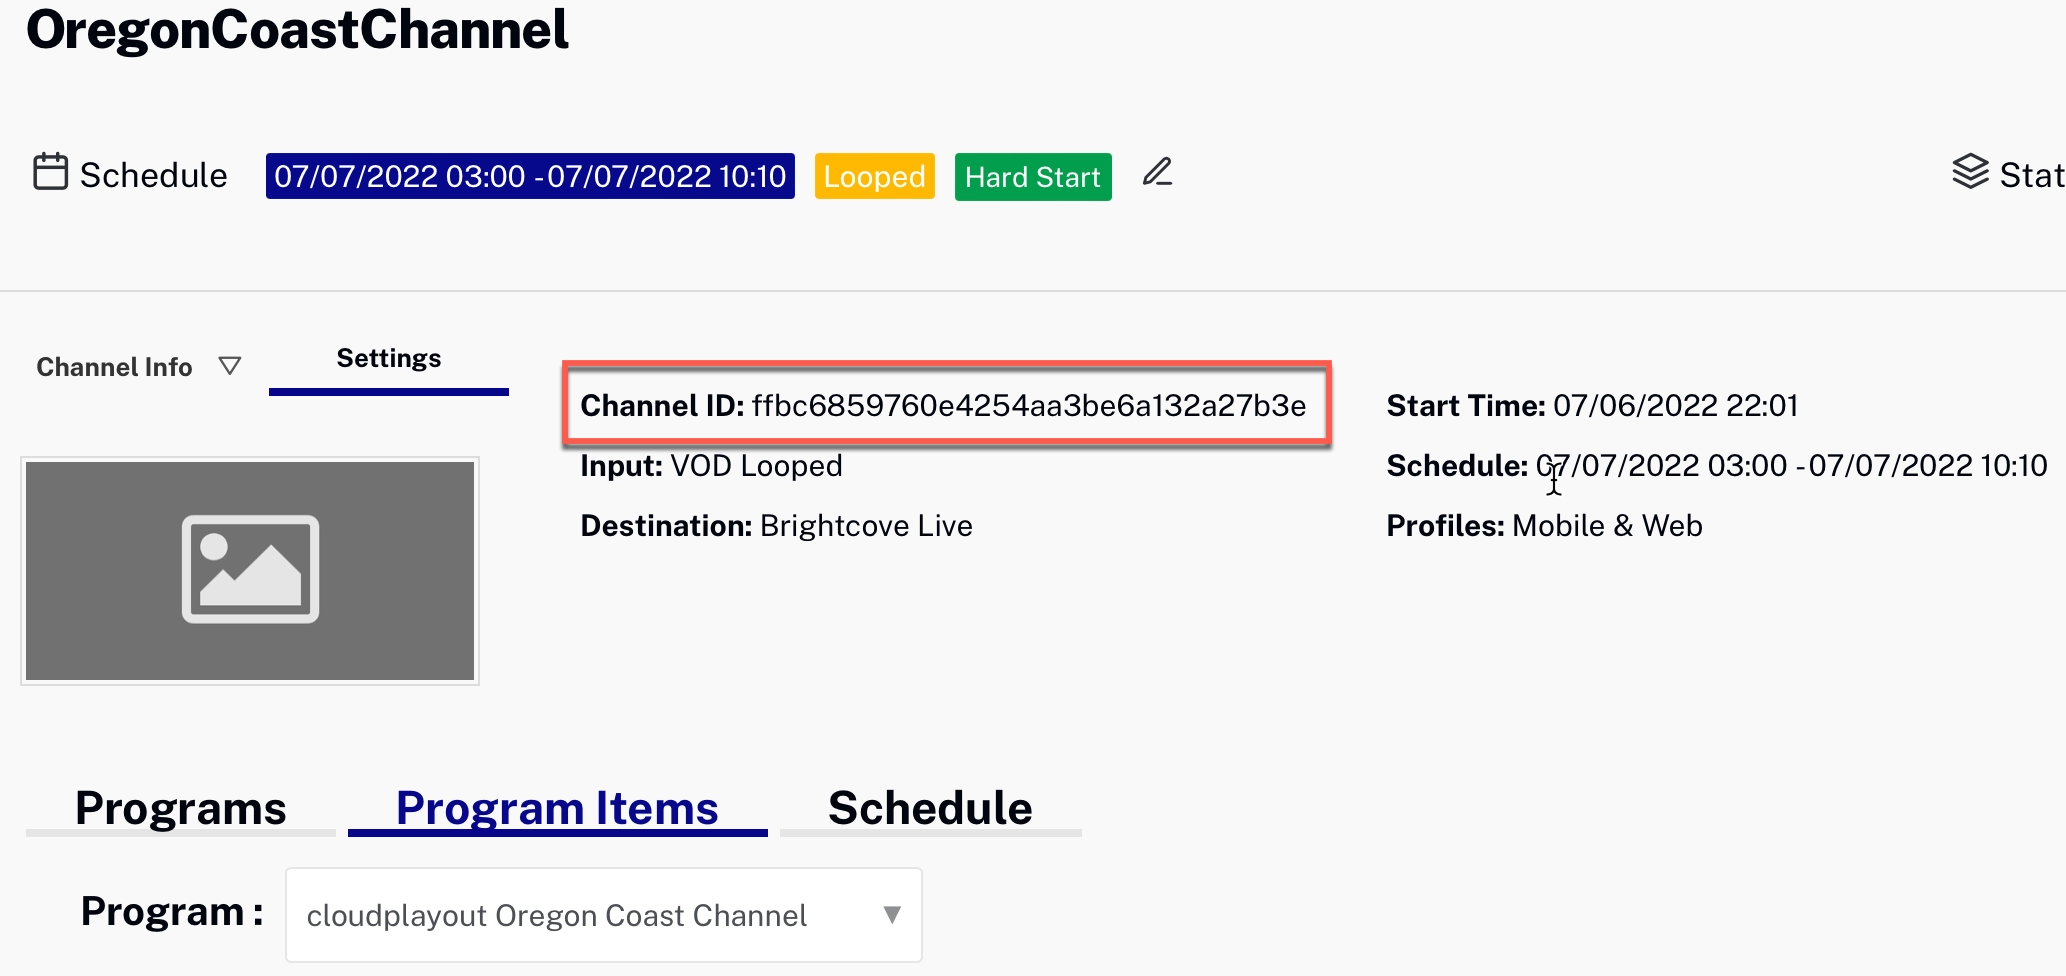
Note that the channel ID is also available in the Channel Details in the Cloud Playout module:
Create a CorpTV Channel
To create a Channel in Brightcove CorpTV, follow these steps:
Basic data
- Log in to CorpTV Classic.
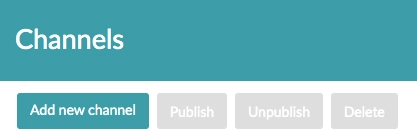
- In the top navigation, select Channels.
- Click the Add new channel button.
- In the Basic Data tab, define a Name for your channel.
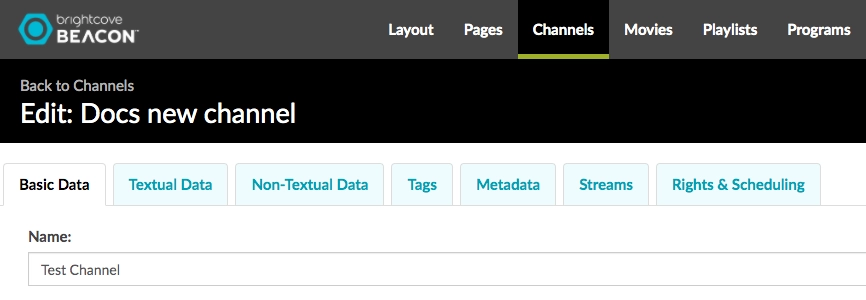
-
Enter the Cloud Playout channel ID:
Enter Cloud Playout Channel ID To find the Cloud Playout channel ID, see Get information for the CorpTV Channel.
- In the Content Rating dropdown menu, select your channel's content rating based on the Content Rating System of the country where your channel will be streaming. In the example image, it is for the US TV-Y.

- In the Genres Details section, click the Genres dropdown menu to select a genre for your channel. (Example: Horror, Drama, etc..)
- If you don’t find the correct genre for your channel, you can create additional ones by clicking the Create Genre button.
Textual Data
The Textual Data section allows you to add displayable text for your Channel.
- Select the Textual Data tab.

- In the Title field, define a title for your channel.
- In the Description field, define a description for your channel.
- In the Synopsis field, define a synopsis for your channel.
Streams
In the Streams section you will set up streaming information for your channel
-
In the Streams section, select Brightcove as the Provider and click Add new stream:
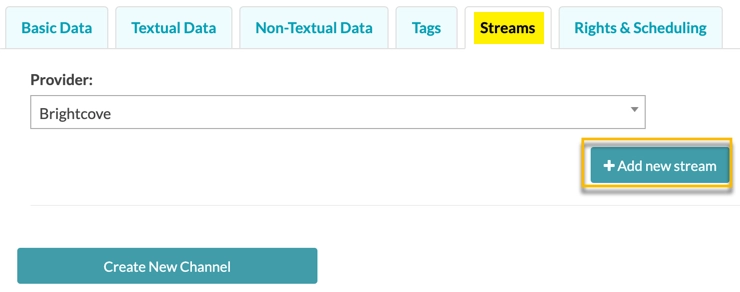
Add New Stream -
Add the Steams information:
- Stream Video ID: enter the video ID for the channel's Live stream
- Devices to Publish: click Select/Unselect All Devices and then remove any that you do not want to publish to
- Stream Type: select Live
- DRM Type : select the DRM type you are using or Open
- Stream Format: select HLS
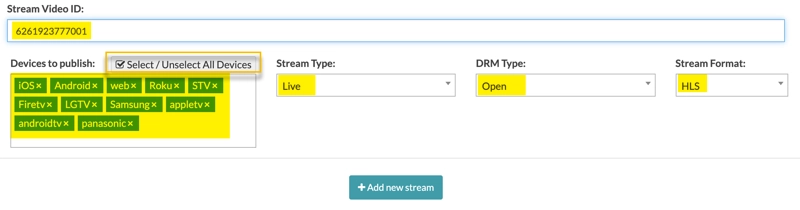
Streams Settings
Rights & Scheduling
-
In the Rights & Scheduling section, add the following information:
- Status: select Published
- Allow Downloads: choose whether to allow viewers to download content (in most cases, the answer will be no)
- Rights Type: select Free or whatever is appropriate for your content
- Start Time: the time to make the channel available (choose a date in the past to make it available immediately)
- End Time: the time the channel will become unavailable (you can set it far in future if you want it to run indefinitely)
- Max Streams: You don't need to enter anything - leave it at 0
- Devices to Publish: click Select/Unselect All Devices and then remove any that you do not want to publish to
- Permitted locations: enter World or the areas you allow viewing
- Denied locations: leave blank or enter areas where viewing is not permitted
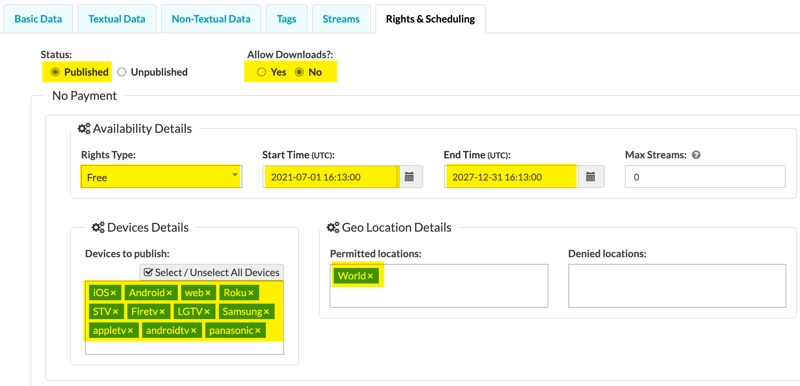
Rights & Scheduling Settings
Create the channel
- After you have entered all the necessary settings, click Create New Channel
Add the channel to a playlist
Because CorpTV pages use playlists for content, you need to add your Cloud Playout channel to a playlist. The playlist can contain other videos, but typically it will contain only the channel so that it comprises the page contents.
- Go to the Media module in CorpTV Studio
-
Click Add New Playlist
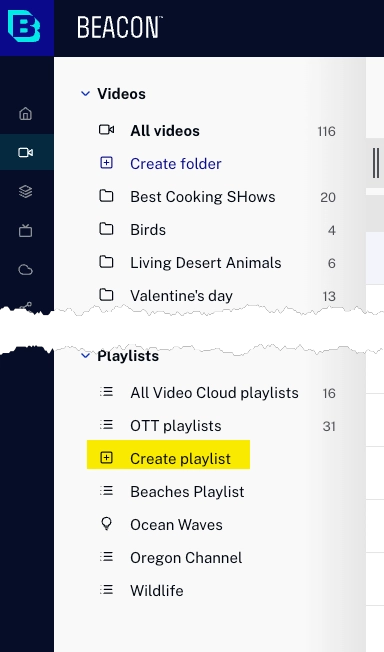
Create New Playlist -
In the Create playlist dialog, enter a name for the playlist and select the Manual type. You can also add a reference ID and description, and have it show up in the sidebar if you wish.
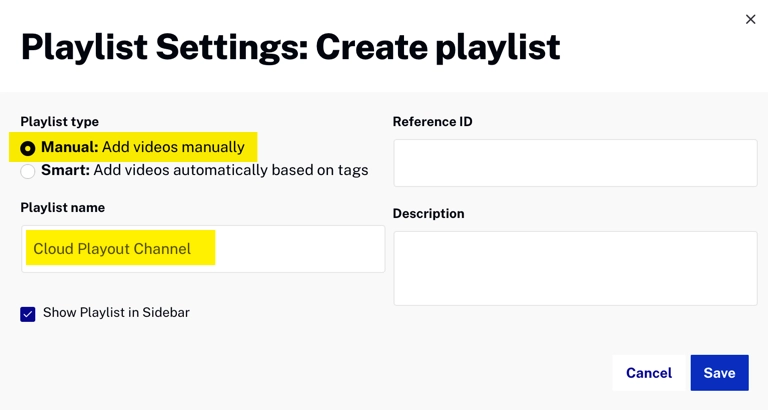
Create playlist Dialog - Click to save the playlist
- Go to the list of videos and click the name of the video associated with your channel to open the video details.
-
Click the Add to dropdown and select Add to Playlist:
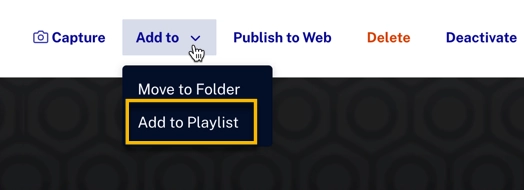
Add To Playlist -
In the Add to Playlist dialog, select the playlist you created for the channel and click :
Add to Playlist Dialog
Add channel to a CorpTV page
The last step in putting your Cloud Playout channel into your CorpTV app is the simplest one: all you need to do is add your playlist containing the channel video to page. See Managing Playlists on Pages for details.